Free Printable Bonnet Pattern - Gather the bonnet cap step 6. Assemble the brim step 5. If you make one, please share a photo with me! Keep reading for the free crochet pattern. Cut out the material step 3. You could get pretty close to the right size by measuring from the top of baby’s head, down. This easy crochet bonnet pattern is practical, so customizable (you can see how i’ve used this bonnet for my daughter’s costumes on instagram ), and it can be made in sizes for baby through adult. Print & assemble the pattern step 2. Sew on the ties show & tell supplies needed Sew the cap to the brim step 7.
FREE PATTERN How To Make A Crochet Croby Patterns
Print the free brim pattern here. Sew on the ties show & tell supplies needed Attach the elastic step 9. Cut the following pieces from your fabric. Cut out the material step 3.

Baby Sewing Pattern Thread Of Love Type Patterns Sewing For
Fireman block from september 11th. Fold the middle piece down and bring the sides to the middle. Next, fold the side with the cuts. Fold up the edge without the cuts 2 inches. Cut the following pieces from your fabric.

Pin by Alejandra Aguilar on Hat Making ً Books and Pattern Trendy
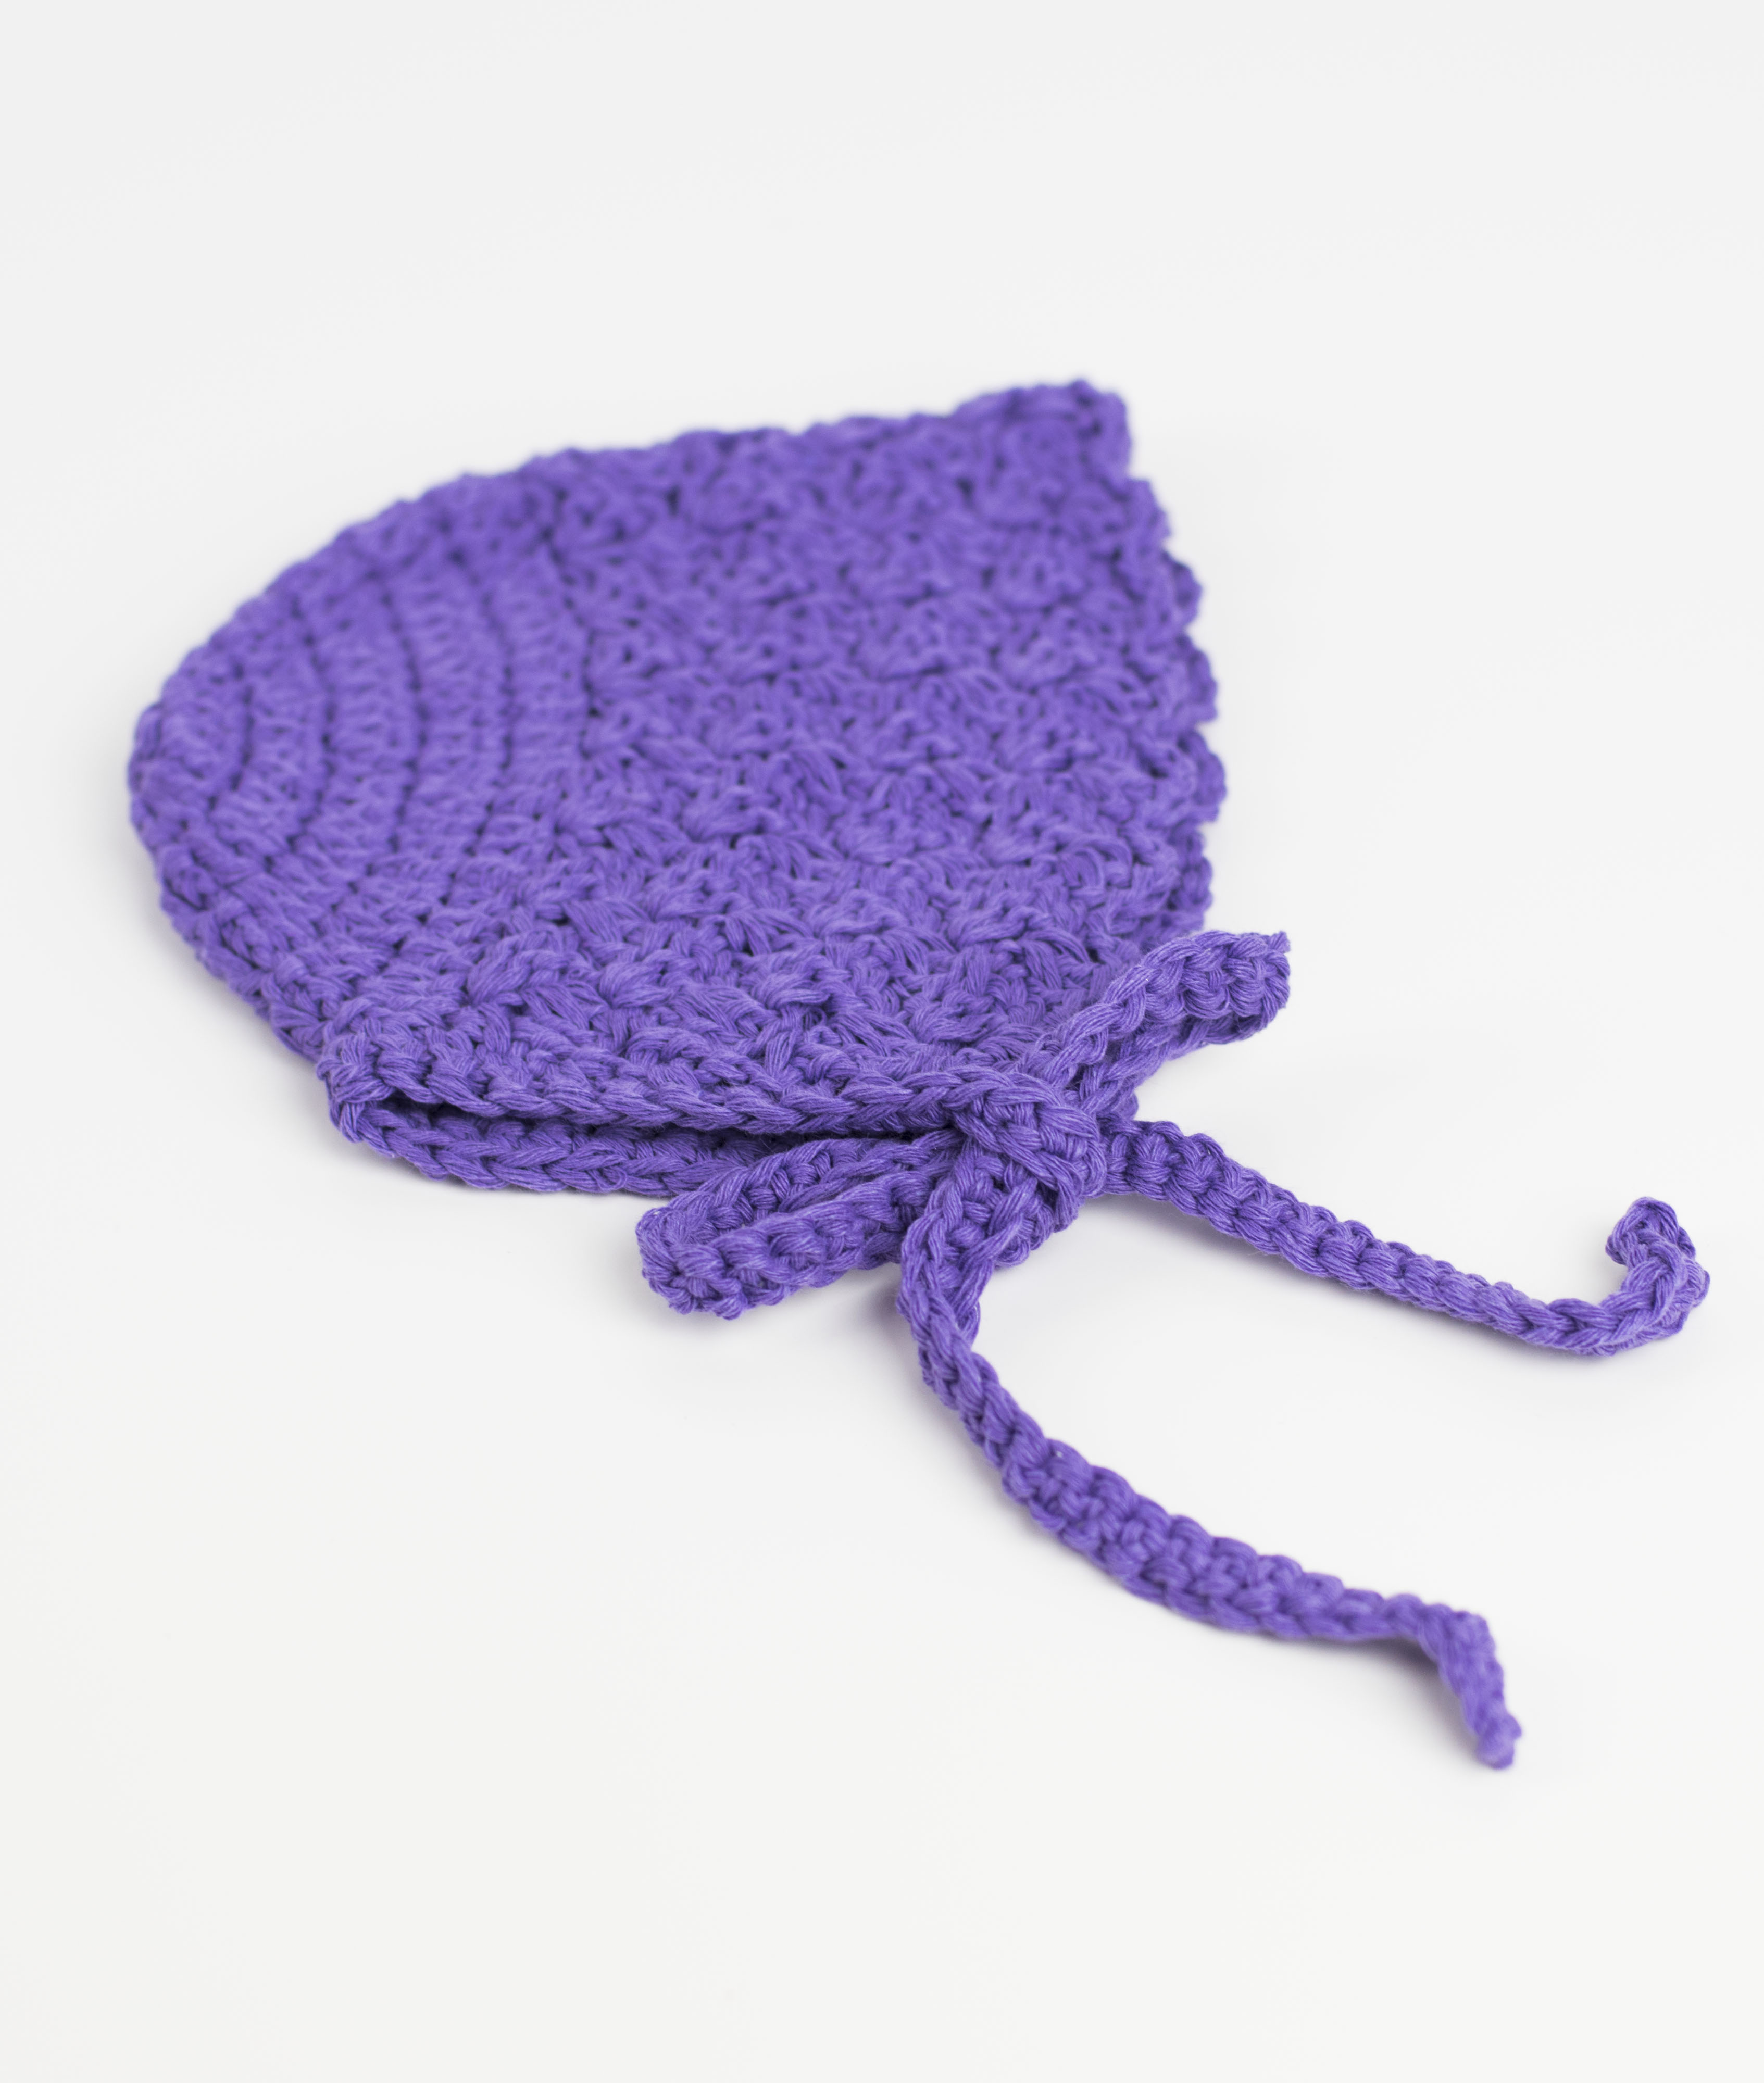
This easy crochet bonnet pattern is practical, so customizable (you can see how i’ve used this bonnet for my daughter’s costumes on instagram ), and it can be made in sizes for baby through adult. You could get pretty close to the right size by measuring from the top of baby’s head, down. Gather the bonnet cap step 6. Fold.

Free Printable Pattern
Keep reading for the free crochet pattern. Print the free brim pattern here. Web take a large piece of construction paper and cut following the picture of pilgrim bonnet template. Attach the elastic step 9. Sew the cap to the brim step 7.
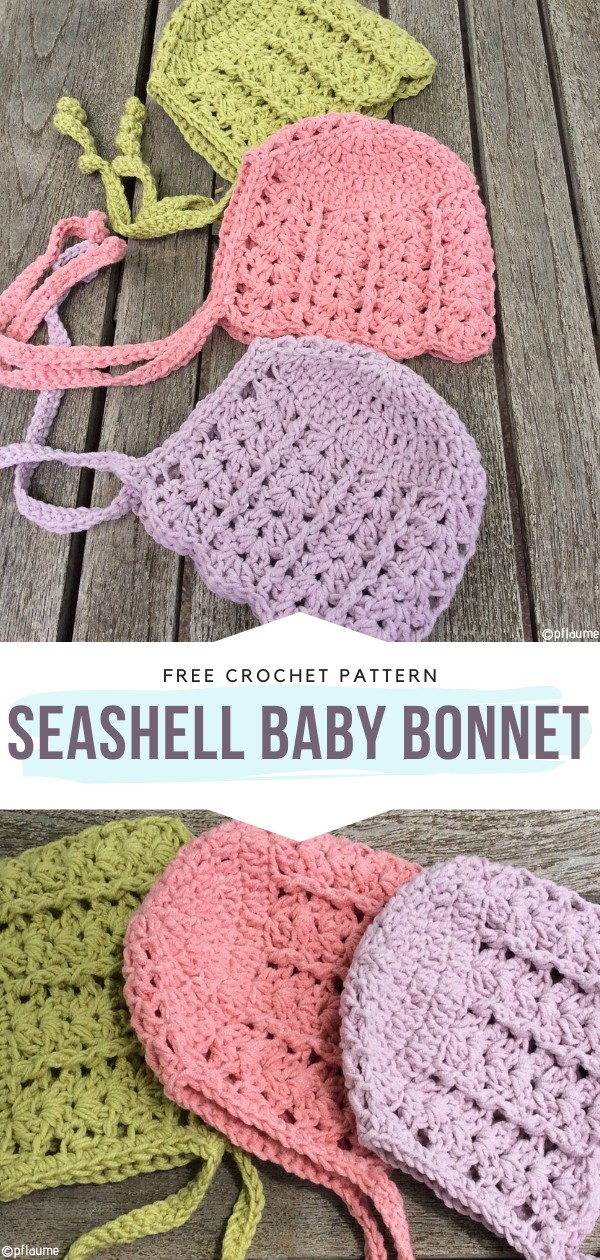
Charming Baby with Free Crochet Patterns
Gather the bonnet cap step 6. Web take a large piece of construction paper and cut following the picture of pilgrim bonnet template. Next, fold the side with the cuts. Sew the cap to the brim step 7. ** it is also the brim i used to make this bonnet and hasn’t been tested further than that.

Pin by madeleine phillips on Craft Baby sewing patterns, Baby
Keep reading for the free crochet pattern. Cut the following pieces from your fabric. Gather the bonnet cap step 6. This easy crochet bonnet pattern is practical, so customizable (you can see how i’ve used this bonnet for my daughter’s costumes on instagram ), and it can be made in sizes for baby through adult. Web diy reversible bonnet &.

Printable Pioneer Pattern Free bmpista
Web diy reversible bonnet & free downloadable pattern 1. Web take a large piece of construction paper and cut following the picture of pilgrim bonnet template. ** it is also the brim i used to make this bonnet and hasn’t been tested further than that. If you make one, please share a photo with me! Keep reading for the free.

apron pattern Kiddos Hats Pinterest
Web diy reversible bonnet & free downloadable pattern 1. ** it is also the brim i used to make this bonnet and hasn’t been tested further than that. Sew the cap to the brim step 7. Fold up the edge without the cuts 2 inches. This will be the bonnet brim when finished.

clip art Clip Art Library
Print the free brim pattern here. Other bonnet shapes apply to later eras. Cut the following pieces from your fabric. Web take a large piece of construction paper and cut following the picture of pilgrim bonnet template. Sew on the ties show & tell supplies needed

Cap Free Sewing Pattern My Patterns Sewing patterns free, Sewing
** it is also the brim i used to make this bonnet and hasn’t been tested further than that. Here are links to all the free patterns we’ve offered throughout the years…. Other bonnet shapes apply to later eras. This will be the bonnet brim when finished. Keep reading for the free crochet pattern.
If you make one, please share a photo with me! Other bonnet shapes apply to later eras. Gather the bonnet cap step 6. Web diy reversible bonnet & free downloadable pattern 1. Attach the elastic step 9. Print the free brim pattern here. Sew on the ties show & tell supplies needed Assemble the brim step 5. Keep reading for the free crochet pattern. Web take a large piece of construction paper and cut following the picture of pilgrim bonnet template. You could get pretty close to the right size by measuring from the top of baby’s head, down. Fold the middle piece down and bring the sides to the middle. Cut the following pieces from your fabric. Sew the cap to the brim step 7. Print & assemble the pattern step 2. Next, fold the side with the cuts. Here are links to all the free patterns we’ve offered throughout the years…. Finish the neck flap edges step 8. This will be the bonnet brim when finished. ** it is also the brim i used to make this bonnet and hasn’t been tested further than that.
** It Is Also The Brim I Used To Make This Bonnet And Hasn’t Been Tested Further Than That.
Assemble the brim step 5. Sew the ties step 4. Save this pattern on pinterest. Cut out the material step 3.
Fold Up The Edge Without The Cuts 2 Inches.
Fold the middle piece down and bring the sides to the middle. This will be the bonnet brim when finished. Keep reading for the free crochet pattern. You could get pretty close to the right size by measuring from the top of baby’s head, down.
Print & Assemble The Pattern Step 2.
Next, fold the side with the cuts. Sew on the ties show & tell supplies needed Web diy reversible bonnet & free downloadable pattern 1. Gather the bonnet cap step 6.
Sew The Cap To The Brim Step 7.
Other bonnet shapes apply to later eras. Cut the following pieces from your fabric. In fact, you may notice some of my stitches are not as crisp, because i had to unpick and rework the brim to get it just right. If you make one, please share a photo with me!